This year marks the first year our daughter will be able to go trick or treating. I know she won’t be able to understand the concept, but she’ll be able to walk to a couple of the houses in our neighborhood which will be super cute. My husband and I are so excited to see her in action. This year she’s going to be Boo from Monster’s Inc. Which reminds me, we need to watch the movie with her so she can get into character. 🙂
What better way to celebrate her first year trick or treating than by making her a bag? I’m totally all for lugging a pillowcase around or those cute plastic containers, but I also love the idea of creating a personalized bag that she can carry easily her first year trick or treating.
To start, I went searching for a canvas tote bag and found a bunch of different options at Hobby Lobby. I went with the 11 X 8.5 (which you can buy here), because she’s still little and won’t be interested in collecting candy. While I was there, I also bought a ½ yard of orange fabric, ribbon and a letter P made out of wood.

The great thing about this bag is that it takes less than 1o minutes to make! So while your child is napping, you can make ten bags and sell them to your mom friends. Just kidding. But really, this bag can be made in a cinch.
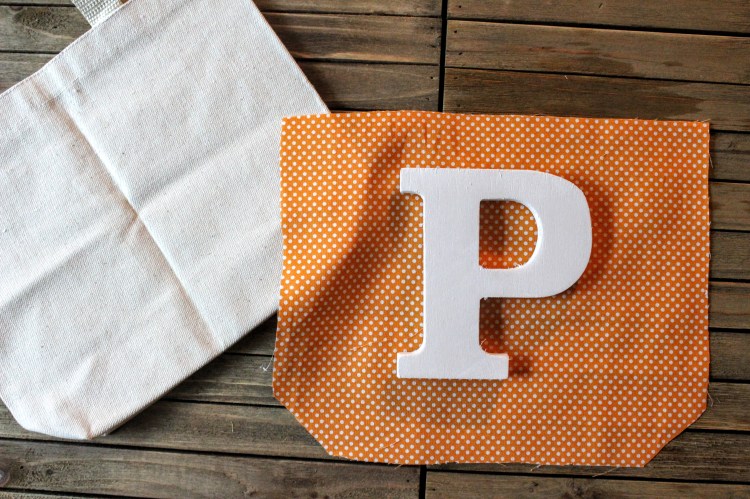
I started by painting the letter P in white. Next, I placed the bag on the back end of the fabric to trace the amount and shape I needed to cut.


Then, I fired up my hot glue gun and glued the letter P to the cut piece of fabric. Then, I glued the piece of fabric to the tote bag. I glued each side at a time to make sure I lined everything up correctly. I’d recommend doing the same.
Finally, I tied ribbon around the handle of the bag to make a bow.


How adorable did it turn out? I’m our daughter will thank me for all of my effort. If you decide to make your own trick or treat bag, don’t forget to tag your photo with #marinamakesdiy!!
Supplies
- Monogram wooden letter
- A small bottle of craft paint (whichever color you prefer)
- Fabric scissors
- Pencil
- Glue gun
- Canvas tote bag 11 X 8.5
- 1/2 yard of seasonal fabric
- A foot of ribbon
Instructions
Begin by painting the monogram wooden letter the color you desire.
Next, place the bag on the back end of the fabric to trace the amount and shape needed to cut.
Fire up your hot glue gun and glue the letter to the center or the cut piece of fabric. Then, glue the piece of fabric to the tote bag, gluing each side at a time to make sure everything is aligned.
Finally, tie the ribbon around the handle of the bag to make a bow.

