We’ve moved twice in the past two years, which hasn’t been rainbows and butterflies, but it has allowed me to decorate new space and who doesn’t love that? One of the parts I’ve loved about renting and owning a home is being able to fill white space on the walls, specifically mapping out and hanging a gallery wall.
Our current family room area is pretty tight and small, so it took us a while to figure out where the TV would go and what direction our couch would face. I’m pretty sure we moved furniture around three times before settling on our current layout. Our first couple attempts were pretty awful. At one point we had our couch in front of our beautiful big bay windows which blocked a ton of light. Another time we had our big leather chair in the mix, but ended up having to move it to another room because it was getting in the way of traffic space. Seriously, we looked into every option. Through all of the trial and tribulation, there was one thing that remained the same – the location of the gallery wall. Priorities, people!
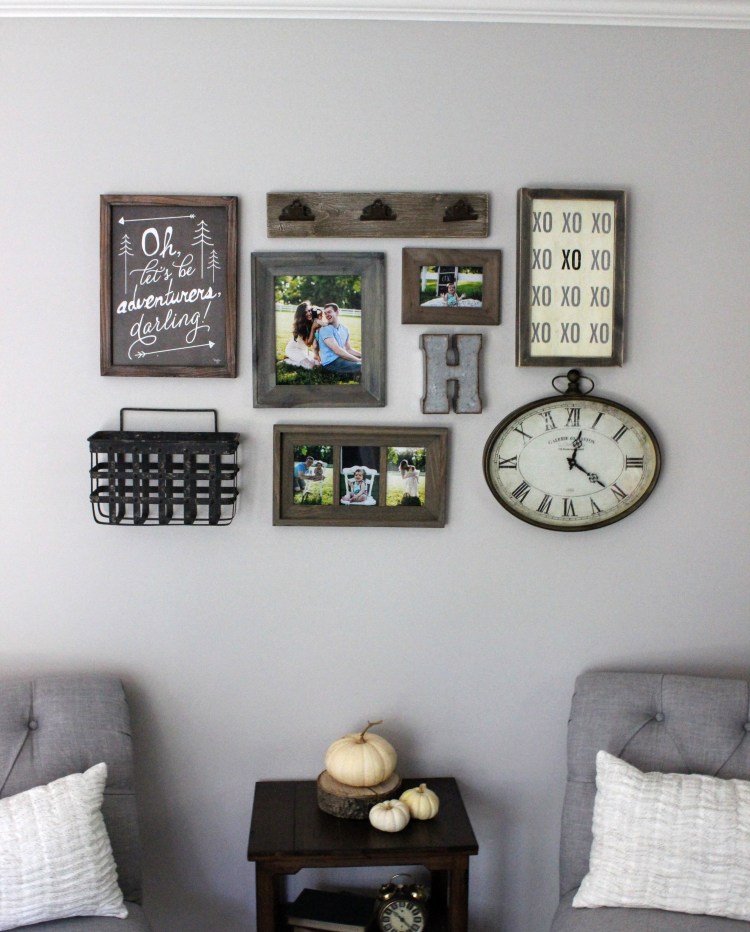
I had decided long before we started painting or putting furniture in the room that I wanted to hang pictures, signs and other things on the wall that separated our kitchen from the family room. For a while, I also toggled back and forth with what I wanted under the gallery wall, and we ended up buying two light grey chairs from Target and a dark end table from TJ Maxx to go in between. I think it comes together quite nicely.


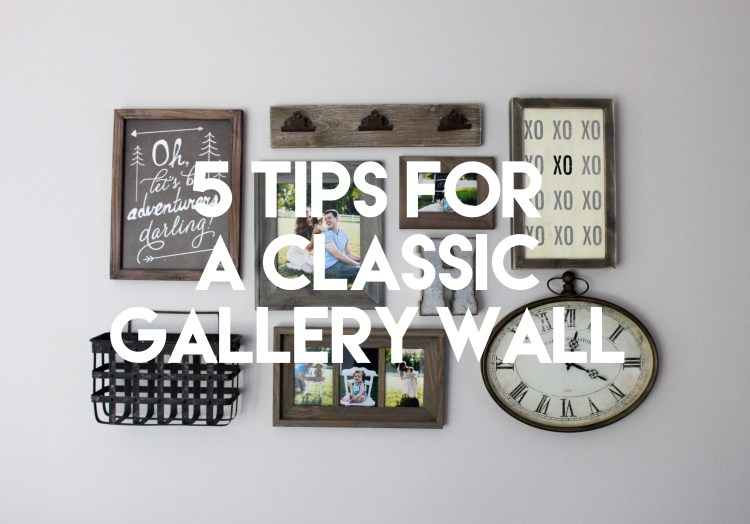
Throughout my experience of configuring three gallery walls in three years (yikes!), I’ve come up with the following tips:
- Choose a wall that’s visible. When your guests walk into the room, you want your masterpiece to be the first thing they see. Most of the time, all walls are visible (duh!), so choose one that is the most prominent, or a wall that already has a big piece of furniture against it.
- Avoid clutter. Don’t overcrowd your wall. You still want to have wall space on the sides and above and below. Gallery walls are classy, don’t overdo it.
- Hang at eye level. This is huge because you don’t want to have to stretch your neck up to look at the pictures/signs on your wall and you probably want to avoid them being level with your head or shoulders. Take a step back before you start hanging anything to ensure you have the right dimensions and area of the wall in mind.
- A mix is best. Not only a mix of sizes and shapes, but a mix of frames, signs with quotes or objects like the steel basket I found at Hobby Lobby or the H monogram.
- Color palette is important. You’ll want to choose and pick items that have similar colors for obvious reasons like cohesiveness, but I’d also recommend you try to pick photos from one moment in time. Whether it’s professional photos you’ve had taken, or an occasion that was special to you and/or your family, using photos from one moment in time ensures that each photo will have similar lighting/color which will look better as a whole.
I hope my tips are helpful! I’d love to hear any other tips and tricks you have. If you decide to create your own gallery wall, be sure to tag your photos with #marinamakesdiy. Happy hanging!

P.S. Try to hang your frames/signs with another person. Getting that “outside” perspective makes things much easier and will help you avoid nailing multiple holes in your wall. Trust me.

