
I’m a sucker for bunny ears this time of year. The kids always look SO adorable in them. Target sells them every year, but to be honest, I wasn’t crazy about what they had at the stores near me.
There are so many cute small shops that make the most gorgeous floral ears, but because I just spent money on both of the kids’ baskets, I wanted to find a cheaper solution. As I was walking through JoAnn Fabrics, a light bulb went off and I thought, come on Marina, you enjoy making handmade things for the kids and doing so would save you money – you should make the ears! Why not, right? This blog is called Marina Makes – how bad could this be?
It really wasn’t bad at all! Only a couple of supplies, and about a half hour later, I had myself two unique and tasteful bunny ears! Here are the steps I took and the supplies I used:
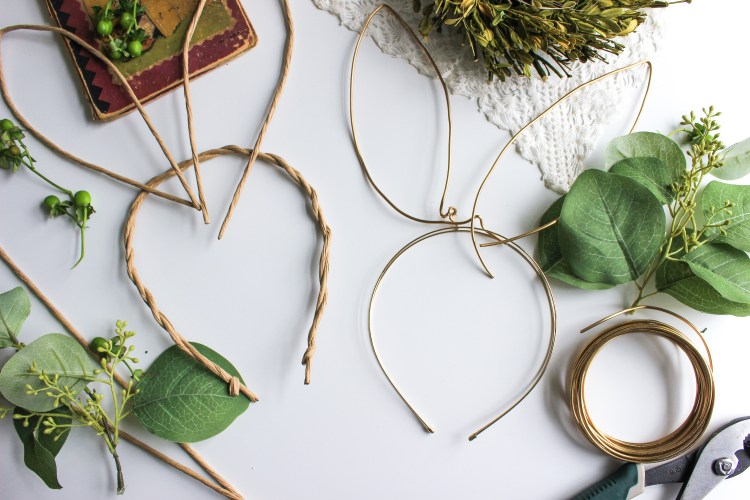
Supplies
Paper Wrapped Bunny Ears
- Paper Wrapped Stem Wire
- Pliers
Floral & Gold Wire Bunny Ears
- Gold Floral Wire
- Gold headband – can be found in most craft stores
- Fake floral pieces
- Hot Glue Gun
- Pliers
Steps
Paper Wrapped Bunny Ears
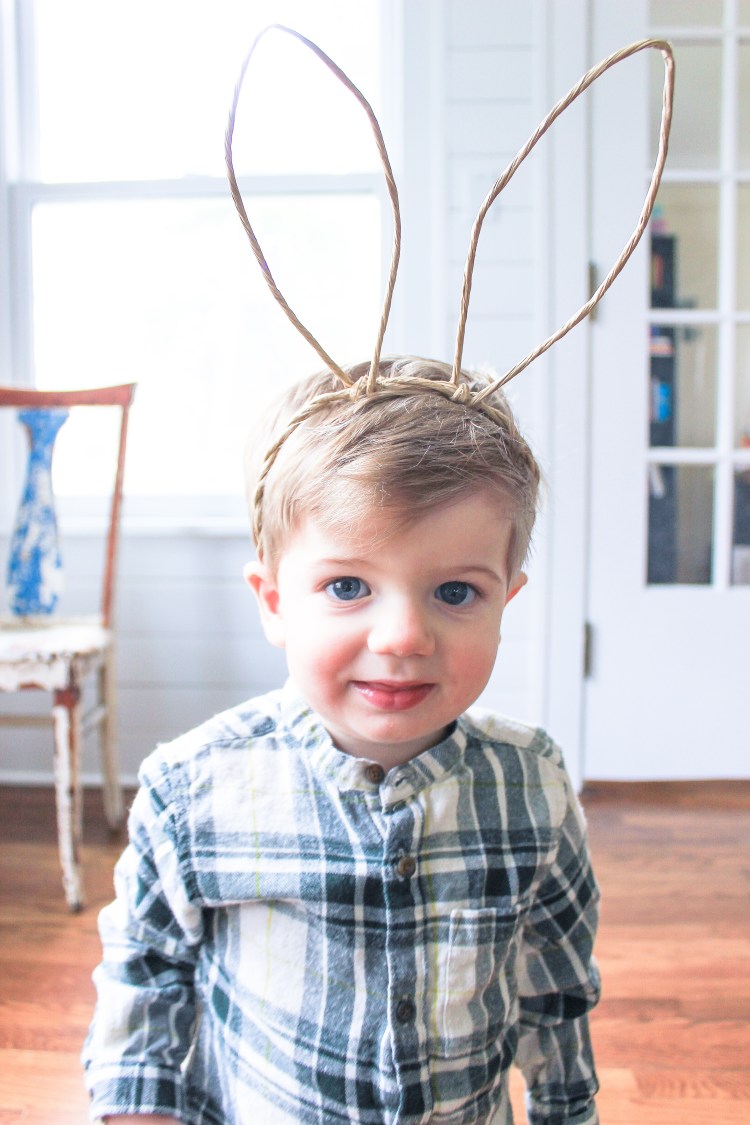
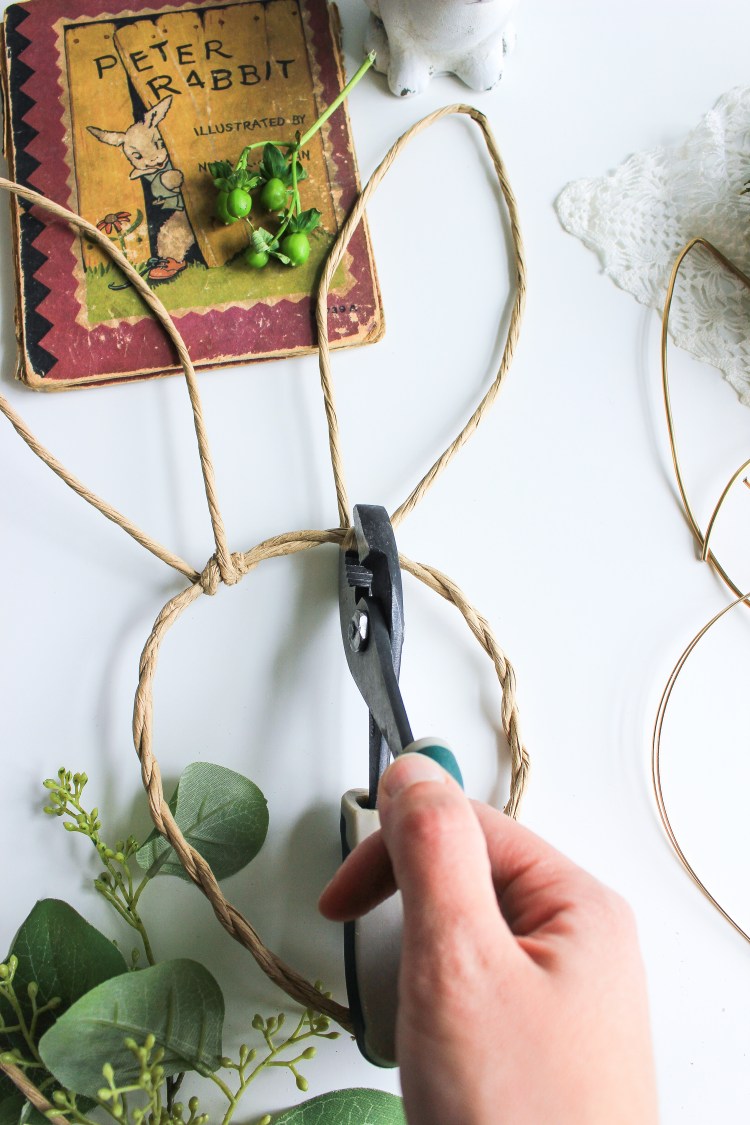
For the paper wrapped bunny ears (the ones my son is wearing), I took two stem wire pieces and twisted them together to create a sturdier headband. I had to cut the ends off a bit because it was pretty big. I sized it around my head to create a circular shape.
Next, I took two floral wires and bent them in half, creating a point in the middle to shape the bunny ears. I wrapped the floral wire around the headband piece and secured it with pliers, cutting off the ends if necessary. The great thing about this wire is that it’s super pliable and forgiving, so if you position one of the ears wrong (totally did that when putting this together!), you can unwrap the wire and start over again. Make sure you clench the ends of the “ear pieces” down so no wire is exposed.
Floral & Gold Wire Bunny Ears
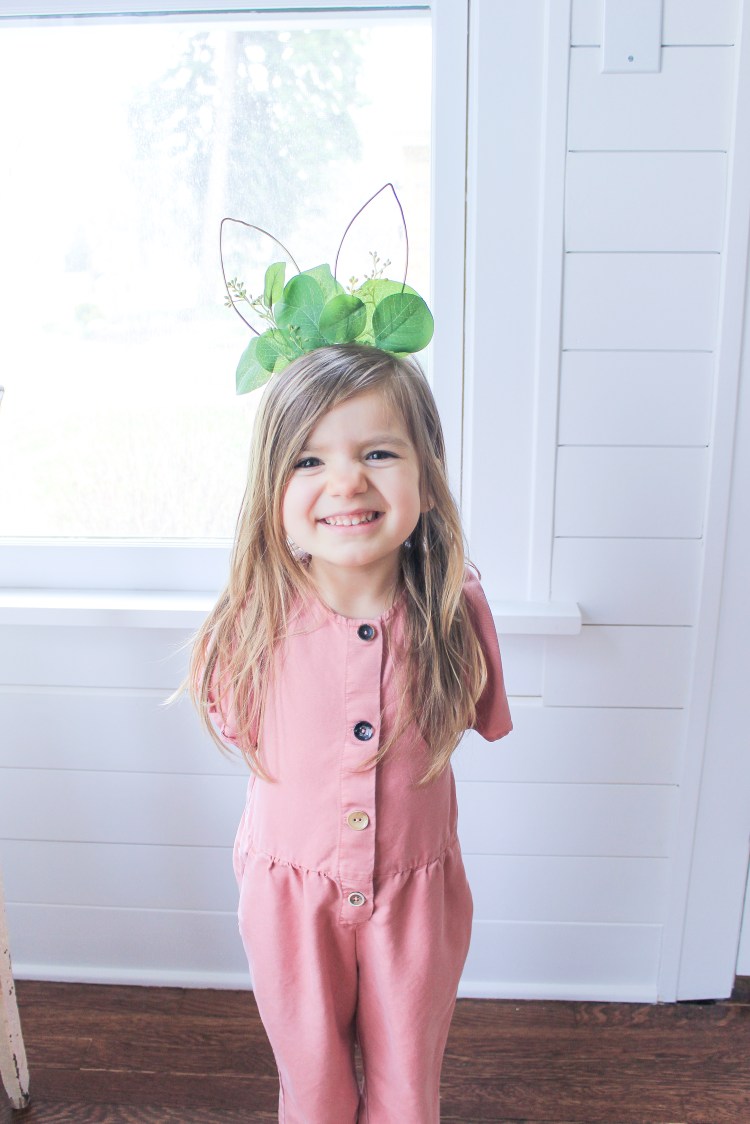
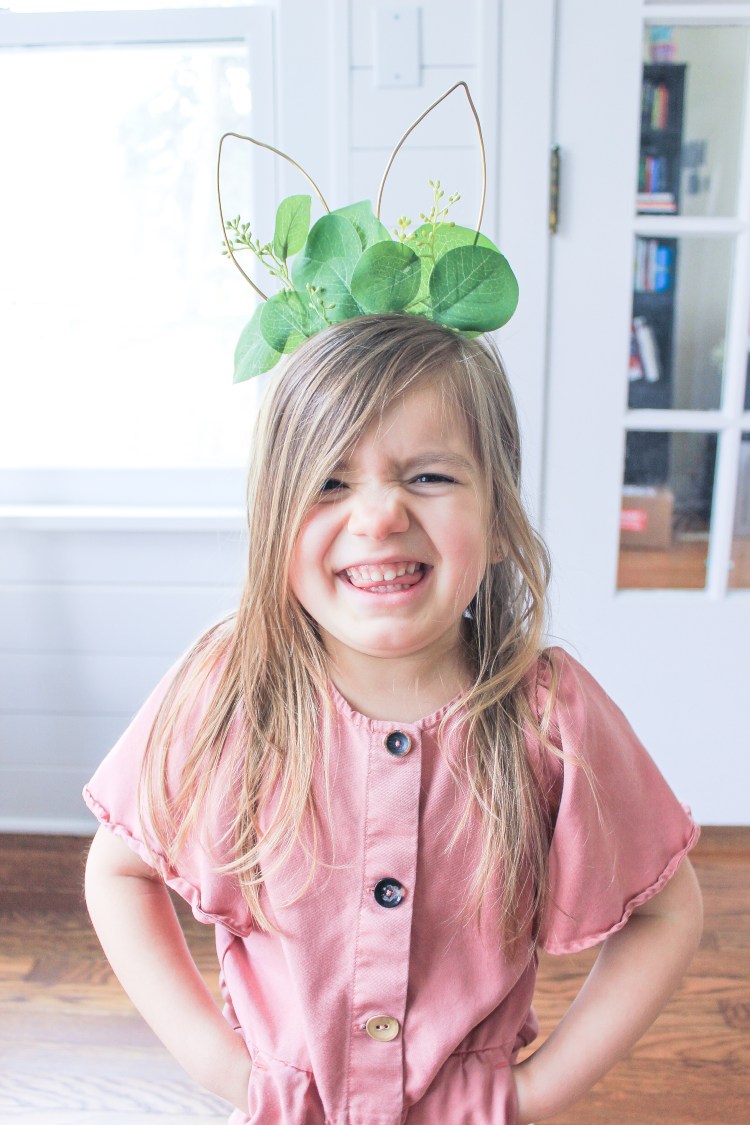
For the floral and gold bunny ears (the ones my daughter is wearing), I cut two pieces of gold floral wire to shape the ears. Using a pen, I formed the tip of ears by pressing the wire down around the pen and used my hands to create the ear shape. This wire is super sensitive to the touch, so try your best to not mess with it too much.
To attach it to the headband, I wrapped the wire around it and secured it with pliers every time I went around. When the ears were finally in place and secure (you may need to press the wire down together several times), I hot glued floral pieces to the center.

And that is it! Seriously 30 minutes or less of your time to create the cutest bunny ears for your kiddos. I’m thinking I might need a pair too. Luckily I have some extra floral wire! If you end up making these, don’t forget to tag #marinamakesdiy.


Love these!! So cute and crafty!!! I’m going to share 🙂
LikeLike
Thank you!! You’re the best 🙂
LikeLiked by 1 person