We’ve already received several Christmas cards this year, which is uber-impressive! Our overachiever friends and family definitely beat me to the finish line on this one, but I’m using the fact that we hand-made ours as an excuse (shhh!). If you missed my post on how I created my own cards, click here.
Each year I get a little frustrated trying to find a place to display all of the beautiful cards – it’s so difficult! Anyone else feel this way? To ease my frustration, I decided to create my own Christmas card holder this year. I can’t thank my husband enough for jumping on board and helping me with this project, and my mother-in-law for staining the wood in her home a couple of times when our garage was too cold for the wood to dry.
I love the weathered look, and definitely appreciate the trend of pairing grayish wood tones with holiday decor. I decided to create a wooden plank board, displaying the cards on a burlap string. I attached each card with gold metal clips I found at Hobby Lobby and I think the clips added a nice dazzle to the board.
My husband and I started off by buying two eight-foot 1 x 4s and one six foot 1 x 2. We used our miter saw to cut the pieces the length we wanted the holder to be. We ended up making five 24 inch planks and cut the 1 x 2 into two pieces the exact height we wanted to card holder to be.
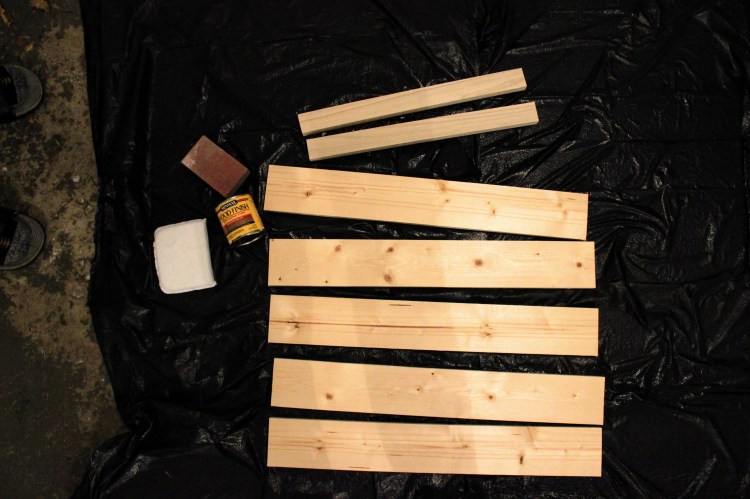
Once the wood was cut, we sanded them down very well and stained them with three coats of weathered oak stain.
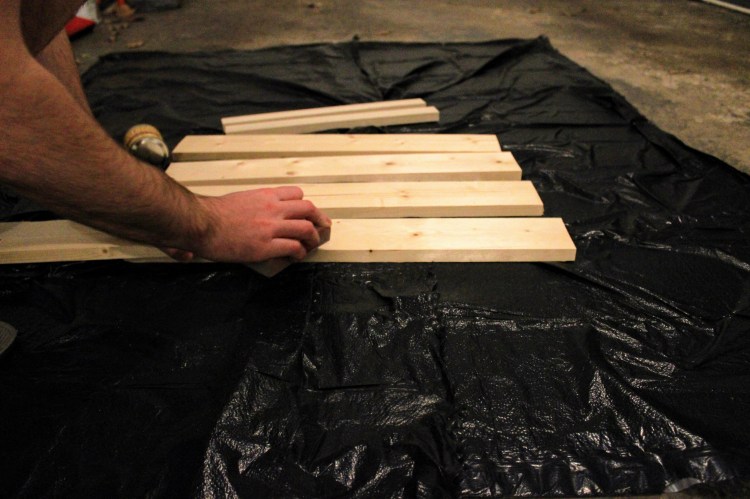
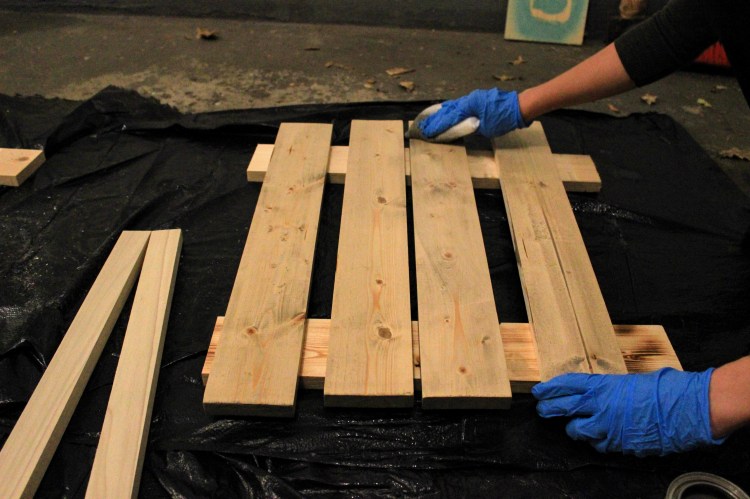
After the stain dried, we lined the wood up and turned it upside-down to begin gluing. We lined the 1 x 2s about 4 inches from the edges of the card holder and traced where we wanted the pieces to go, which helped ensure the pieces were aligned once we began gluing. One watch-out while gluing: glue expands! If you apply too much it may seep into unwanted places.
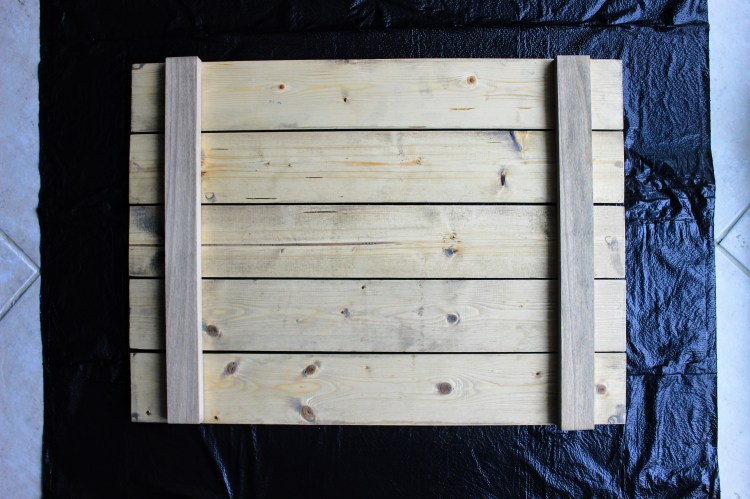
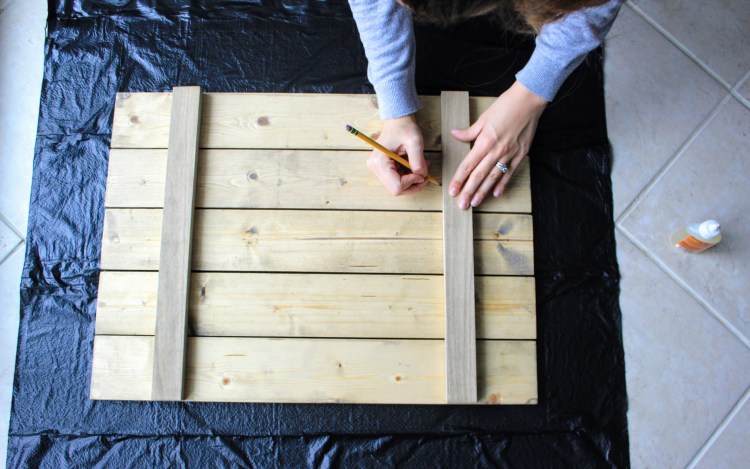

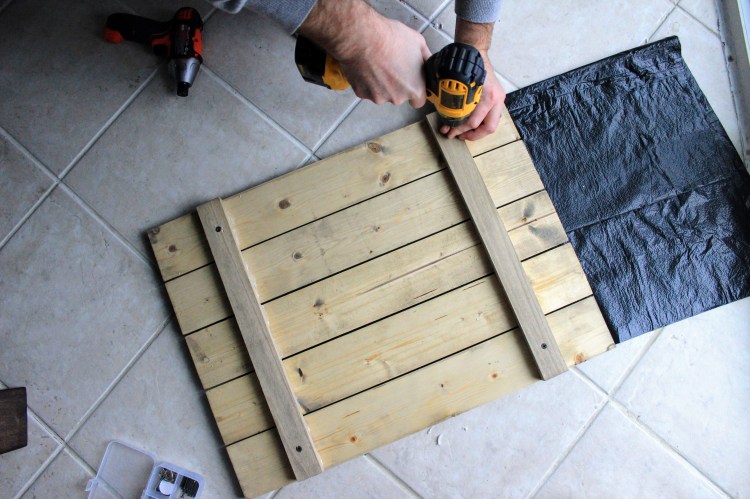
Next, we inserted nails at the tops and bottoms of each 1 x 2 to hold everything into place.
To create a spot for the banner string to go, we nailed four nails in the planks across from each other and tied the string to each end.
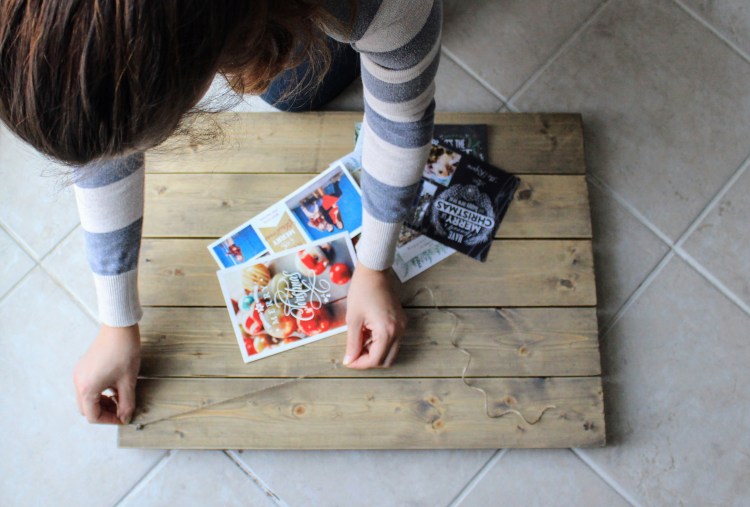
Finally, I clipped each picture to the banner.

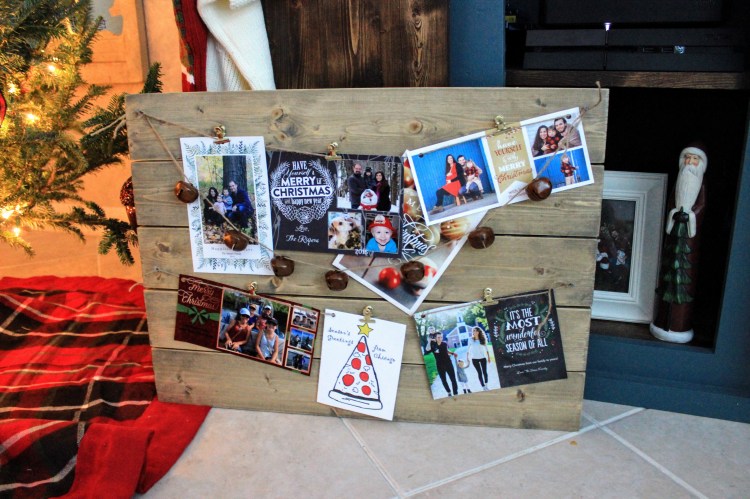
If you end up making your own, I’d recommend adding some sort of Christmas flair, whether it’s ribbon, a fabric banner, or bell garland (what I ended up making for mine). Don’t forget to tag your photos with #marinamakesdiy!
DIY Christmas Card Holder
Supplies
- 2 eight-foot 1 x 4s
- 1 six foot 1 x 2
- Some sort of saw (home improvement stores are great about cutting wood the exact size you need it, so that’s an option too)
- A small container of weathered gray stain
- Gorilla glue
- 8 nails
- Burlap string
- Metal clips for photos/cards
Directions
Use a saw to cut the pieces of wood the length you want. We ended up making five 24 inch planks and cut the 1 x 2 into two pieces the exact height we wanted to card holder to be.
Once the wood is cut, sand everything down and stain the wood with three or more coats of weathered oak stain. Make sure the stain is dry before adding another coat.
After the stain dries, line the wood up and turn it upside-down to begin gluing. Line the 1 x 2s about 4 inches from the edges of the card holder. Trace where you want the pieces to go, and place gorilla glue in several spots, making sure you don’t put glue in areas where space is exposed. Let the glue sit for about an hour. We placed books on top of the wood to ensure the glue stuck.
Insert nails at the tops and bottoms of each 1 x 2 to hold everything into place. Nail the back of the card holder (side that won’t be on display).
To create a spot for the banner string to go, nail four nails in the planks across from each other and tie string to each end (nail on the front of the card holder).
Finally, clip your cards to the banner.


Very DIY and pretty, now to find some reclaimed wood😊
LikeLike
Thank you! Just stop at the hardware store and follow my steps. It was pretty easy to make!
LikeLiked by 1 person
After the snow melts I might step out and check our my local Home Depot :))
LikeLike
Love this !! Awesome work
LikeLike