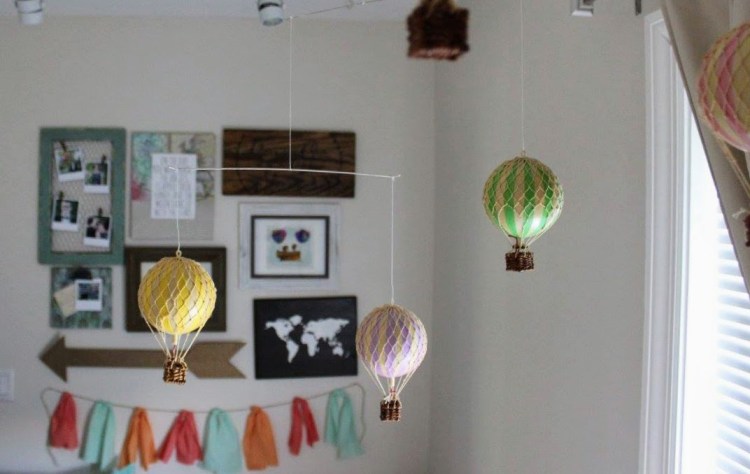
I’ve mentioned in posts before that we didn’t find out the sex of our daughter before she was born, which meant buying neutral everything leading up to her birth. We didn’t spend a lot of time thinking about nursery themes because we agreed early on “adventure” was the way to go. We’re huge fans of the movie Up!, so it was an easy decision to make.
Her first room was in our apartment in Chicago. We painted the walls a light cream color and added white and dark wood accents throughout the space. Sometimes the smell of her dresser will bring me back to those summer days spent rocking her or wrapping her in a towel after a bath. Ahhh the feels!!
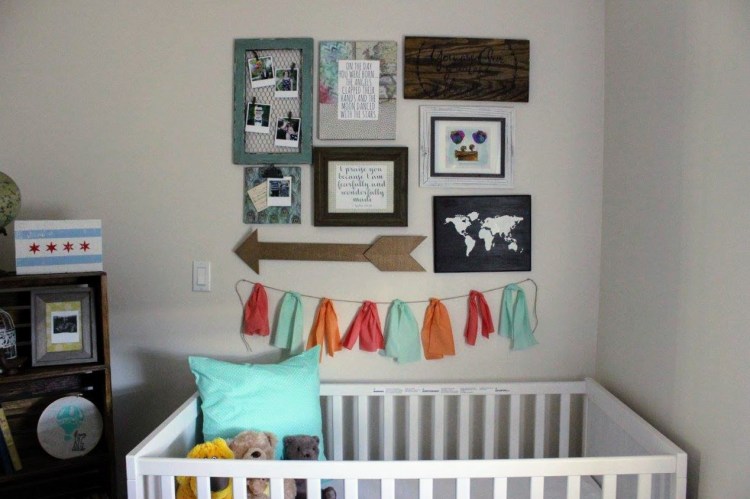
Before she was born, I spent time creating most of the signs we placed on the wall above her crib. It was special putting everything together for a baby I already loved so much, but didn’t even know. The same signs hang above her crib today.
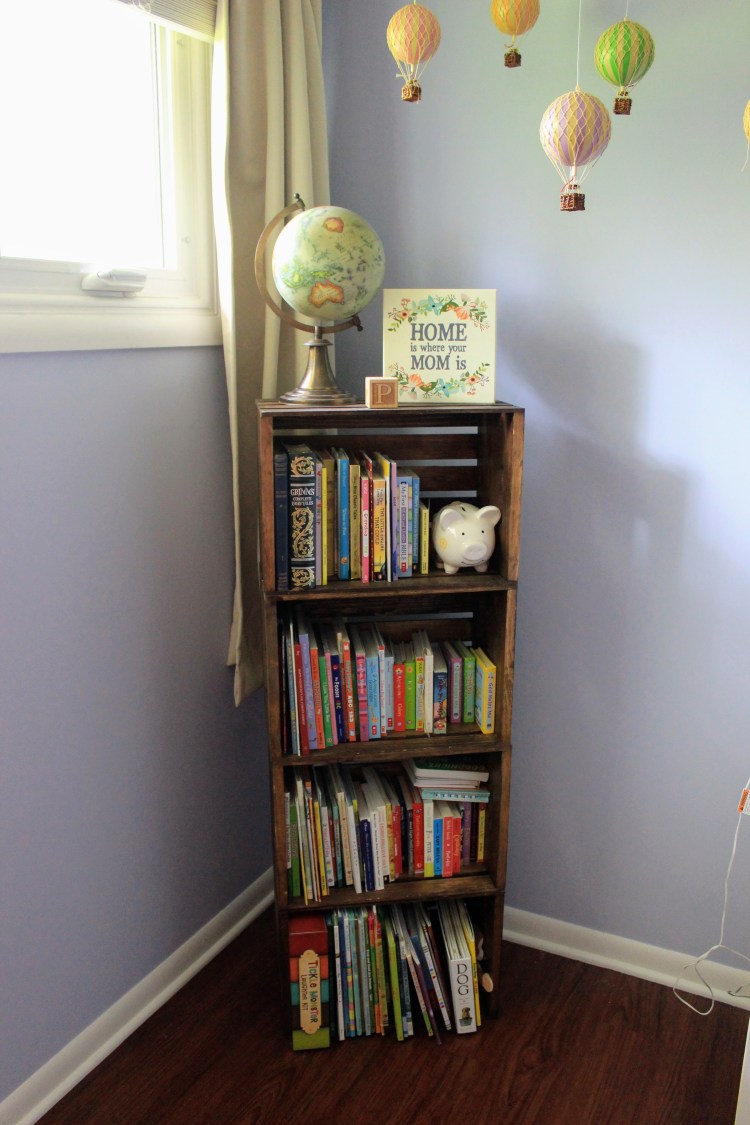
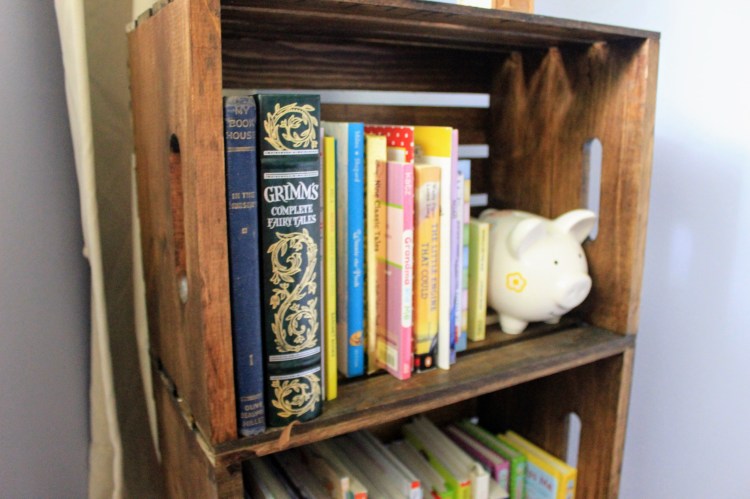
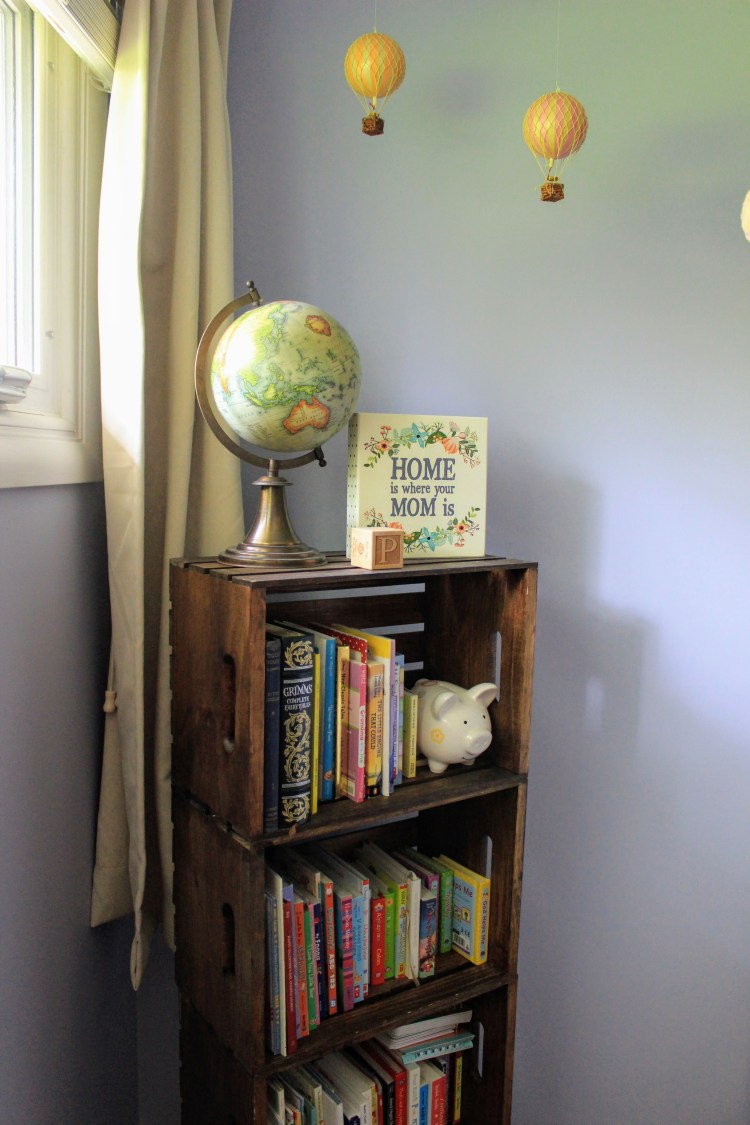
One of my favorite DIY projects we completed before she was born was putting together her crate bookshelf. My husband was the one who primarily worked on it because I didn’t want to breathe in the fumes from the stain. He did a phenomenal job and spent many hours bringing my vision to life.
I must say, every time our little girl runs to her bookshelf to grab her favorite books, we’re so glad we took the time to make it for her. That shelf is more than special to us – it’s something we made for her out of love, and we’re so glad she likes it as much as we do.

Below are the supplies we used and the steps we took to create the self. If you end up making a similar shelf, don’t forget to tag #marinamakesdiy!
To create the shelf, we bought four unfinished wood crates from Joann Fabrics, a dark walnut stain, and staining pads and brushes.
- First, we placed the crates on a large tarp in a dry and open space.
- We dipped the pads and brushes in the stain and rubbed one coat along every side (inside and out), removing any paint drips along the way. Less is more and will avoid this.
- We let the first coat dry for a few hours and then rubbed another coat on. We let them dry again.

